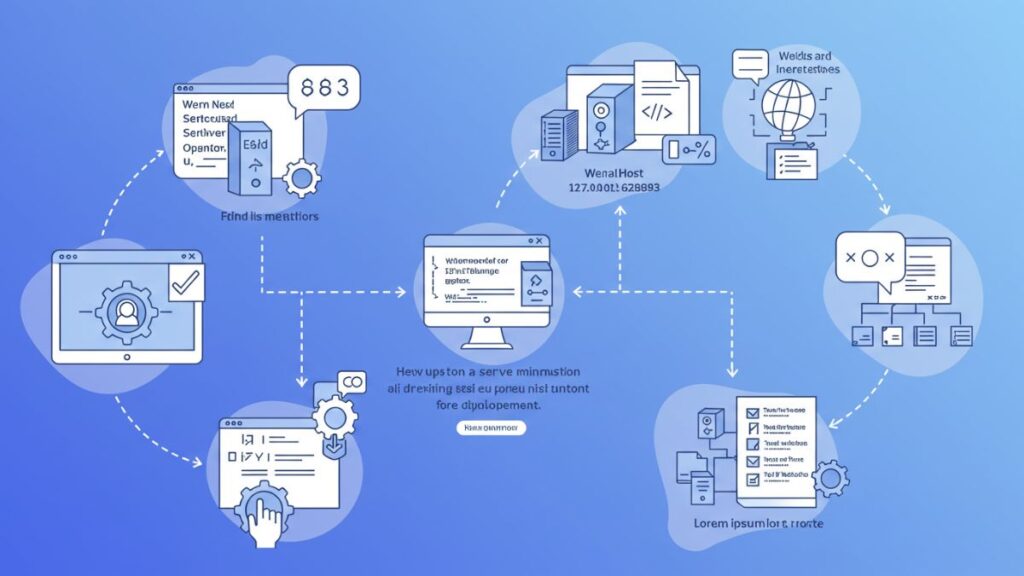
Are you ready to take your web development skills to the next level? Setting up a local server can be a game-changer for developers at any stage. It allows you to test websites, experiment with code, and see changes in real time—all without needing an internet connection. When it comes to local servers, using 127.0.0.1:62893 is a popular choice among developers looking for efficiency and ease of use.
Imagine having complete control over your development environment right on your machine! You can debug issues faster, play around with new technologies, or even build prototypes before going live. Whether you’re working on personal projects or professional assignments, mastering the setup process is essential.
Curious about how to get started? Let’s dive into why setting up a local server is beneficial and how you can configure one using 127.0.0.1:62893 for optimal performance in your web development journey.
Benefits of Using a Local Server for Web Development
Using a local server streamlines the web development process significantly. It allows developers to test and modify their code in real-time without affecting a live environment.
Local servers are cost-effective. You don’t need to pay for hosting services while developing your project. This budget-friendly approach is especially beneficial for freelancers or startups.
Speed is another advantage. Working on 127.0.0.1:62893 means files load faster since they’re stored locally, eliminating latency associated with remote servers.
A local setup enhances security too. Developers can experiment freely without exposing sensitive data online, providing peace of mind during testing phases.
Moreover, it facilitates easier collaboration among team members who can access the same local environment, ensuring consistency across projects while avoiding deployment issues typically linked with cloud-based tools.
Setting up a Local Server Using 127.0.0.1:62893
Setting up a local server using 127.0.0.1:62893 is simpler than it sounds. First, ensure you have the necessary software installed on your machine, such as XAMPP or WAMP for Windows, or MAMP for macOS.
Once you’ve got that sorted, launch your preferred server application. This usually comes with a straightforward interface that allows you to start and stop services easily.
Next, configure the port number if needed. By default, many local servers use port 80 or 8080; however, changing it to 62893 can help avoid conflicts with other applications running on common ports.
After setting this up, open your browser and type in 127.0.0.1:62893 into the address bar. If everything is configured correctly, you’ll see the dashboard indicating that your server is live and ready for development tasks!
Configuring Your Local Server for Web Development
Configuring your local server is a crucial step in creating an effective web development environment. Start by ensuring that you have the necessary software installed, such as Apache, Nginx, or XAMPP. These tools will help you manage your server effortlessly.
Next, navigate to your configuration files and adjust settings according to your project needs. Pay special attention to port numbers and file paths. For example, using 127.0.0.1:62893 means directing your traffic correctly so it reaches the right application.
Don’t forget about enabling modules or extensions specific to the programming languages you’ll be working with like PHP or Python. This adds functionality and makes testing seamless.
Always test after making changes to ensure everything runs smoothly before diving into coding tasks. A well-configured local server sets the foundation for successful web projects ahead.
Tips for Optimizing Your Local Server Experience
To enhance your local server experience using 127.0.0.1:62893, consider adjusting your development environment settings for optimal performance.
Start by increasing memory limits if you’re working with resource-intensive applications. This can prevent slowdowns and crashes during testing.
Regularly clear cache files to keep things running smoothly. Cached data can build up, leading to unexpected behavior or delays in loading times.
Utilize a lightweight text editor or IDE that integrates well with local servers. This will streamline coding and debugging processes without overwhelming system resources.
Implement version control systems like Git to track changes efficiently while developing on your local server. It adds an extra layer of organization and safety to your projects.
Familiarize yourself with browser developer tools for efficient troubleshooting when something goes wrong on the front end of your application.
Conclusion:
Setting up a local server using 127.0.0.1:62893 can transform your web development experience. With the right configurations, you establish a testing environment that mimics real-world conditions.
This setup allows for rapid iterations and immediate feedback on your projects. You gain the freedom to explore ideas without risking impact on live sites.
As you delve into this process, remember to keep optimizing your server settings. Small tweaks can lead to significant improvements in performance and efficiency.
Embrace the learning curve as you navigate through various configurations and tools available at your fingertips. The world of web development is vast, but starting with a solid foundation like 127.0.0.1:62893 sets you on an exciting path forward.
FAQ’S
What is 127.0.0.1?
This IP address refers to the localhost, which is your computer in network terms. It allows you to test websites on your machine without needing an internet connection.
Why use port 62893?
Port numbers help manage different services on a server; using 62893 helps avoid conflicts with other running applications and makes it easier to specify which service you’re accessing.
Do I need special software to set up my local server?
Yes, you’ll often need software like XAMPP, WAMP, or MAMP depending on your operating system preferences.